How To Use A Drug Testing Kit #
To the unfamiliar, the idea of identifying a drug by testing it yourself may sound like a difficult and daunting undertaking. It isn’t. With a little knowledge it becomes trivial.
The science is simple enough. If you drop a chemically infused fluid on to a sample of your drug it will change colour. The colour it changes to will help you to identify the drug. No colour change is also information which will help you to identify it.
This chemically infused fluid is known as a reagent.
There are a number of different types of this fluid; different reagents. Each one tends to react differently to the drug in question, often creating a different colour.
The different reagents have different names. Amongst the most commonly used reagents are Marquis, Mecke, Mandelin, Froehde, Liebermann and Eldrich.
Why is it necessary to have different reagents? One reason is that certain reagents are particularly sensitive and useful for specific drugs, or classes of drugs.
Another is that with a single reagent, two different drugs may produce the same or almost the same colour. However, with a second specifically selected reagent they will produce different colours. Multiple reagent tests also increase the prospect of identifying the presence of an unwanted additive.
Generally, testing with more than one reagent will produce more accurate and precise results, which in turn reduces risk.
I mentioned at the start that this is not difficult. The next few pages will demonstrate an actual test using a single reagent kit. A more complex three reagent process will then be illustrated.
Firstly some common sense: reagents are toxic so treat them accordingly. Handle them with care (using gloves and lab equipment if possible) and avoid getting them on to your skin and in your eyes. Don’t breathe the vapours and don’t ingest. Also, dispose of them responsibly after testing. I am seeking to enhance safety here, not kill you in the process.
Note that the standard identification tests don’t measure strength or purity: they simply provide an indication of the presence (or absence) of specific substances. Also, a positive result doesn’t guarantee that the substance is safe or unadulterated: further assurance requires the use of testing labs, where methods such as chromatography and spectroscopy are available.
More information on this subject and on the general topic is available via a variety of websites, including: dancesafe.org, bunkpolice.com, reagent-base.net, reagent-tests.uk and safetest4.co.uk.
A SINGLE-REAGENT SPOT CHECK – DEMO #
Single-reagent testing kits are readily available, from both retail outlets and via Internet websites. Whilst these kits have limitations (see the information on the previous page) they are certainly quick and easy to use.
Each kit targets a specific set of drugs, with the test returning a different colour for each. The drugs covered by a particular kit are identified on the packet or in the product literature.
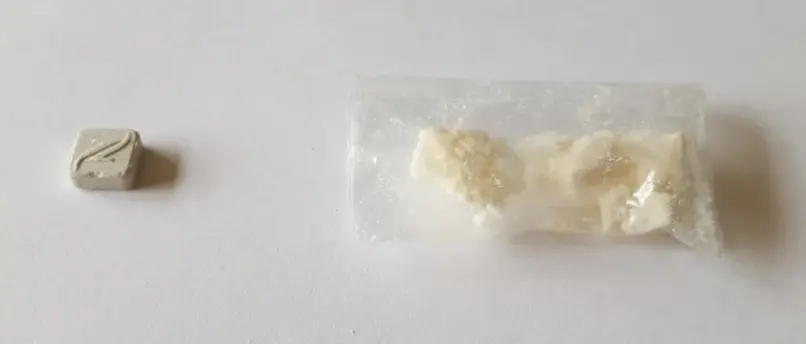
The following steps illustrate the testing of two samples, which were sold as MDMA and amphetamine respectively.
-
Choose a kit that is applicable to the drug you wish to test.
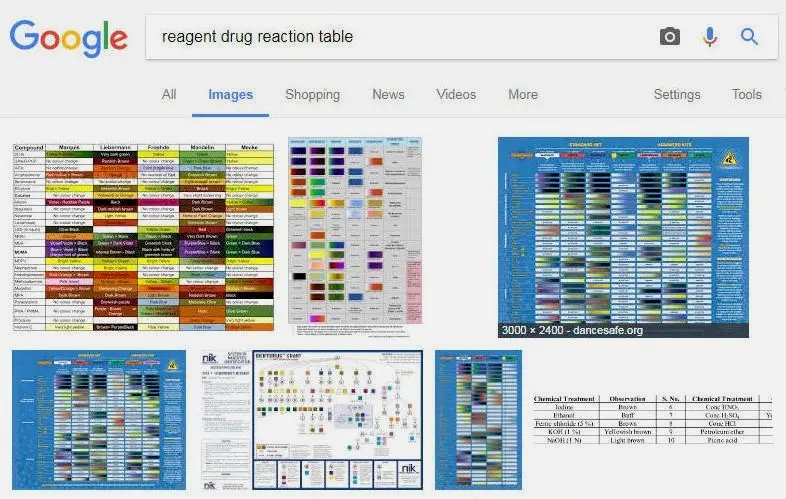
For this demonstration I searched the internet using Google, seeking the simplest kit available. I then checked its efficacy via forum reviews.
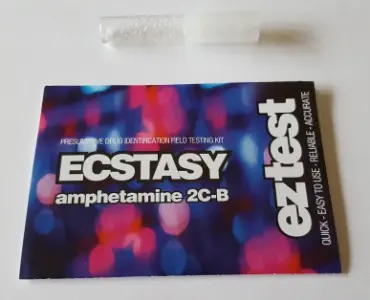
I identified a popular kit which was branded under the name eztest. Its website indicated that this tested for MDMA, amphetamine, 2C-B/C/I, methylone/butylone, and DXM, and that it used the Marquis reagent: https://en.wikipedia.org/wiki/Marquis_reagent
I purchased two of these: one for the MDMA and one for the amphetamine.
-
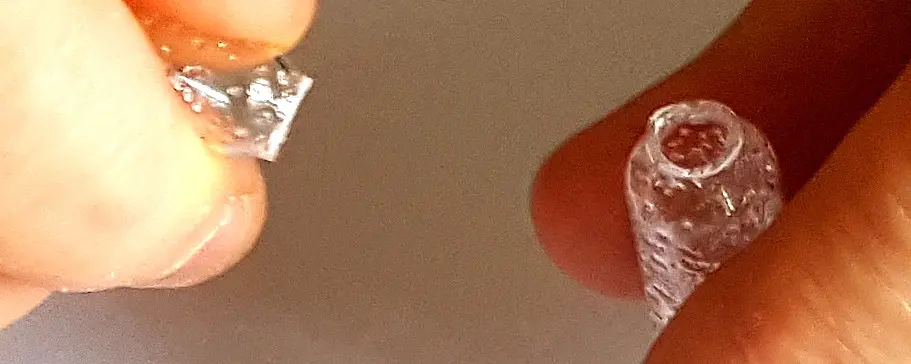
To test a specific drug, break the top off the glass ampoule.
A quick twist and turn and the top snapped off easily.
-
Insert a small sample of the drug into the ampoule.
Here, I scraped at the MDMA pill with a knife sufficiently to allow couple of fragments to fall into its waiting glass ampoule. For the amphetamine I used a pair of tweezers to drop a tiny dab of the powder into its ampoule.
Ampoule 1: MDMA
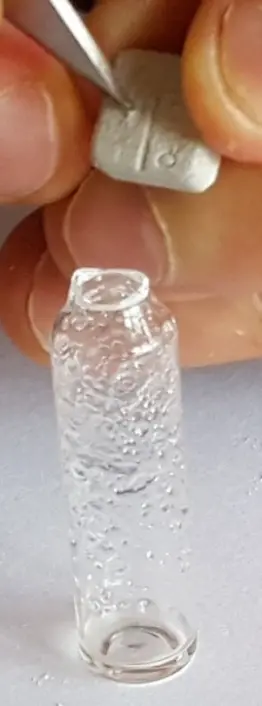
Ampoule 2: Amphetamine
-
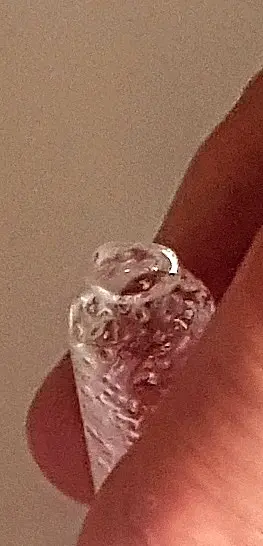
Shake the ampoule gently.
I lightly shook each of the two ampoules, whilst observing the colour change.

-
A colour will emerge as the drug reacts in the ampoule. Compare this colour with the colour chart provided with the test kit instructions.
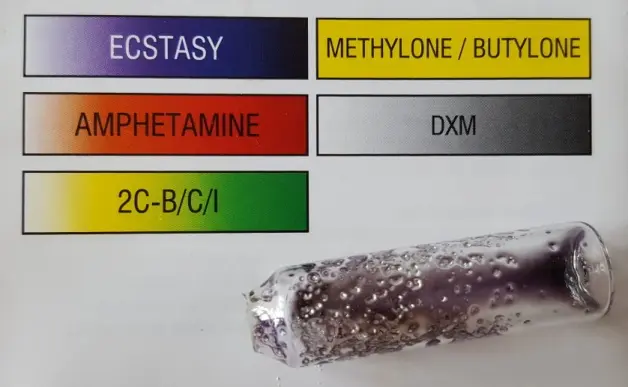
Ampoule 1: MDMA
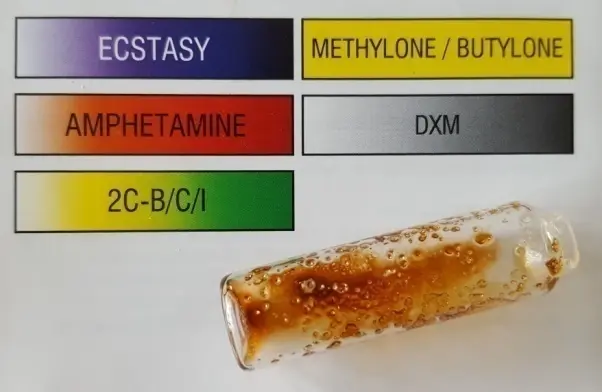
Ampoule 2: Amphetamine
As can be seen (far more clearly in the colour version of this book), there was a match between the colour in the ampoules and the colours specified for MDMA and amphetamine.Wikipedia offered the following with respect to Marquis tests generally:
Substance Colour Notes MDMA or MDA Purple to black May have dark purple tint Amphetamine Orange to brown May have a brown tint 2CB Yellow to green Colour may change from initial result DXM Grey to Black Initially no change; takes much longer to reach black than MDMA On completion of the test I safely disposed of the ampoules and their contents.
Having tested a sample, if there is no match, or no colour at all, or if you are unsure, do not use the drug.
Always heed this advice: if in doubt, chuck it out.
Finally it should be noted that product disclaimers tend to present the kits as “for entertainment only”, and state that they do not provide a 100% guarantee. In other words, their use is at your own risk. With this in mind, exercise appropriate care and caution.
If the sample tested positively, this information can be used in conjunction with both your own research and the safety measures documented in Section 1.1.1.
A MULTI-REAGENT TEST – DEMO #
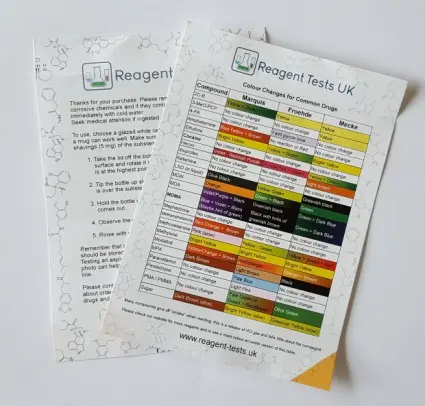
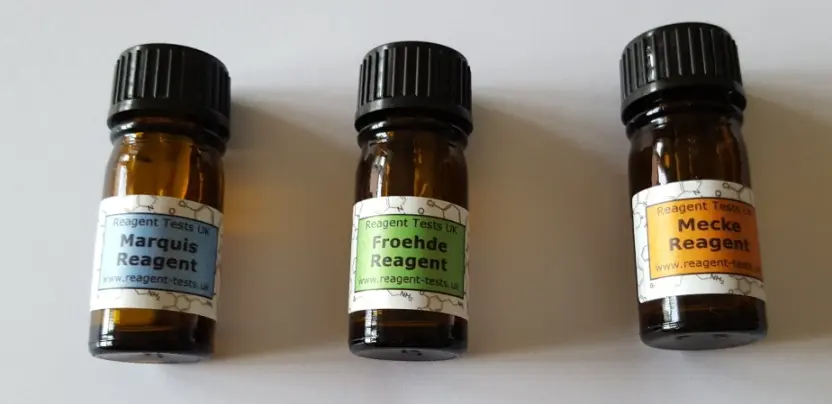
For this slightly more complex demonstration, I purchased three reagents from Reagent Tests UK: Marquis, Froehde and Mecke. These arrived as a kit, which also included an instruction card and a colour comparison chart.
The following steps illustrate the testing of the same MDMA pill which was used for the single-reagent spot check.
-
Prepare your work space and surface.
I chose a nice quiet area with plenty of natural light (my desk).
For the surface I grabbed a glazed ceramic white plate. Although some people use the bottom of a mug, I found that a plate offered a wider area, enabling steadier access to the surface itself.
-
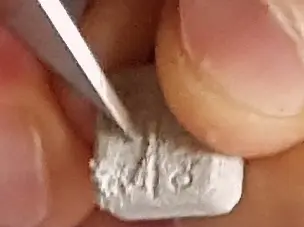
Place the drug sample on the surface.
Here I scraped a fragment of the pill on to the surface of the plate. Had I been testing a powder I would have placed a dab of the powder using tweezers, a micro spoon, or a similar implement.
The instructions supplied with the kit suggested that a sample of about 5mg is usually about right.

-
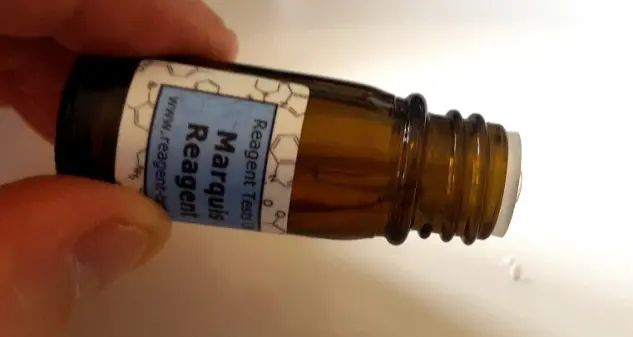
Tip the bottle so that a drop of fluid falls on to the sample.
Choosing the Marquis reagent for the first test, I took the lid off the bottle. I gently tilted this over the sample and then rotated slowly. Patiently, I tilted and turned until a drop of the fluid finally emerged and fell.
-
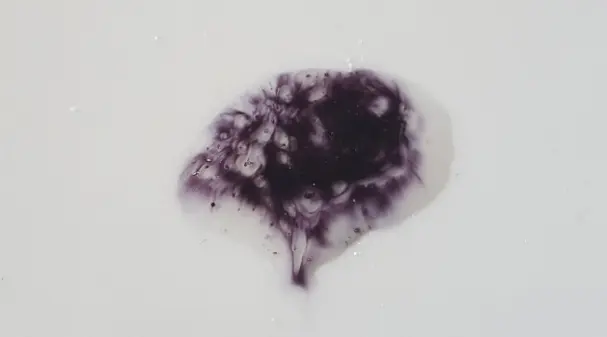
A colour will emerge as the drug reacts with the reagent.
I watched the sample carefully, over about 30 seconds, as it gradually changed colour.
-
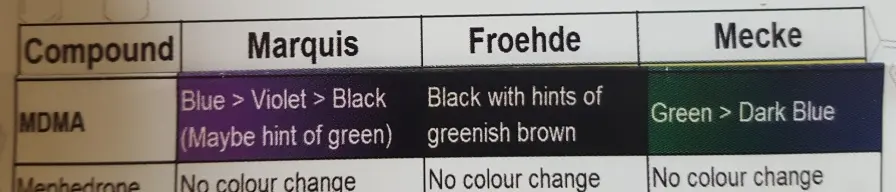
Compare this colour with the colour chart provided with the instructions.
As can be seen (more clearly in the colour version of this book), the colour matched that specified for MDMA (purple-black) under Marquis.

-
Repeat the same steps (2-5) using the other reagents.
I rinsed and washed the plate, and then repeated steps 2, 3, 4 and 5 using the Froehde reagent. This time the sample turned black, which again matched MDMA on the chart.
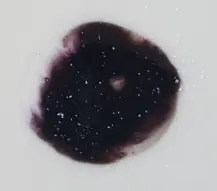
I then rinsed and washed the plate again, and repeated steps 2, 3, 4 and 5 using the Mecke reagent. The sample turned dark green-blue, which also matched MDMA on the chart.
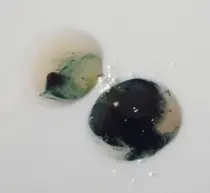
Being pedantic, I took photographs using my phone for a more considered comparison (and not just for the purposes of this book).
Carefully examining the chart and comparing the colours for all three tests, I had a clear match with MDMA.
I washed the plate properly for the final time, and stored the reagent bottles securely.
Having performed the reagent tests, I would again stress that if you are unsure do not use the drug. Remember the advice: if in doubt chuck it out.
Also bear in mind the disclaimers and warnings listed on the previous pages, and any printed within the test kit instructions.
If the sample tested positively, this information can be used in conjunction with both your own research and the other safety measures documented in Section 1.1.1.
COMPARISON CHARTS #
Your test kit should include a comparison chart. If you purchased the reagents independently of a kit, a number of charts can be found online or directly via the websites referenced earlier.